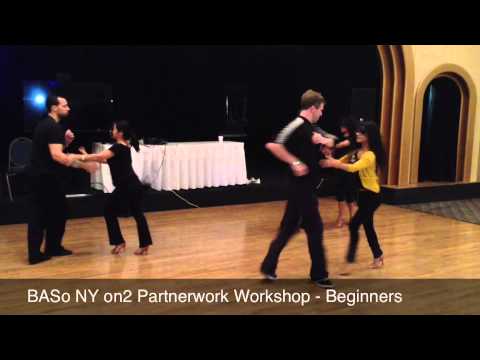
How to Map On1 Steps to On2 Timing (Practical Conversion Table)
If you have ever tried to "translate" an On1 combination into On2 in real time, you know the feeling: your brain says yes, your feet file a complaint.
This reference helps you map timing more clearly.
On1 to On2 conversion table
| Count Position | On1 | NY On2 | PR On2 #1 | PR On2 #2 |
|---|---|---|---|---|
| First break side | 1 | 6 | 2 | 2 |
| Transfer | 2 | 7 | 3 | 3 |
| Completion/pause zone | 3 | 8 (pause) | 4 (pause) | 4 |
| Neutral | 4 (pause) | 1 | 5 | 5 (pause) |
| Second break side | 5 | 2 | 6 | 6 |
| Transfer | 6 | 3 | 7 | 7 |
| Completion/pause zone | 7 | 4 (pause) | 8 (pause) | 8 |
| Neutral | 8 (pause) | 5 | 1 | 1 (pause) |
Why this feels hard at first
Because the pauses are not in the same location.
That single difference changes movement quality, body rhythm, and when you can comfortably place styling. Many dancers call this extra space "hang-time" because certain timings create more breathing room between actions.
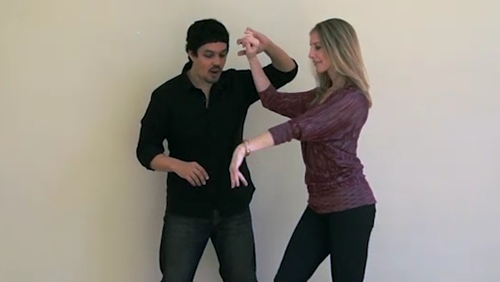
Quick practice method
- Take one simple On1 pattern you know well.
- Walk it slowly in place using the table above.
- Add partnerwork only after the timing feels automatic.
Do this with one pattern at a time. If you try to convert everything in one night, the dance floor will humble you immediately.
Final note
There are regional variants and teaching differences, especially around Puerto Rican timing labels. Use this as a practical conversion aid, then validate with your instructor and local scene conventions.
If this mapping feels awkward today, that is expected. Keep drilling slowly and your timing translation speed will improve dramatically in social conditions.
Treat this chart like a practical translator until timing fluency becomes instinctive.